This has proven to be a long hard struggle.
First off today I worked on bolting up the engine and gearbox. The gearbox mounting went in fine, then the off side engine mounting but when it came to the nearside one I realised I would have more room if the exhaust manifold was removed.
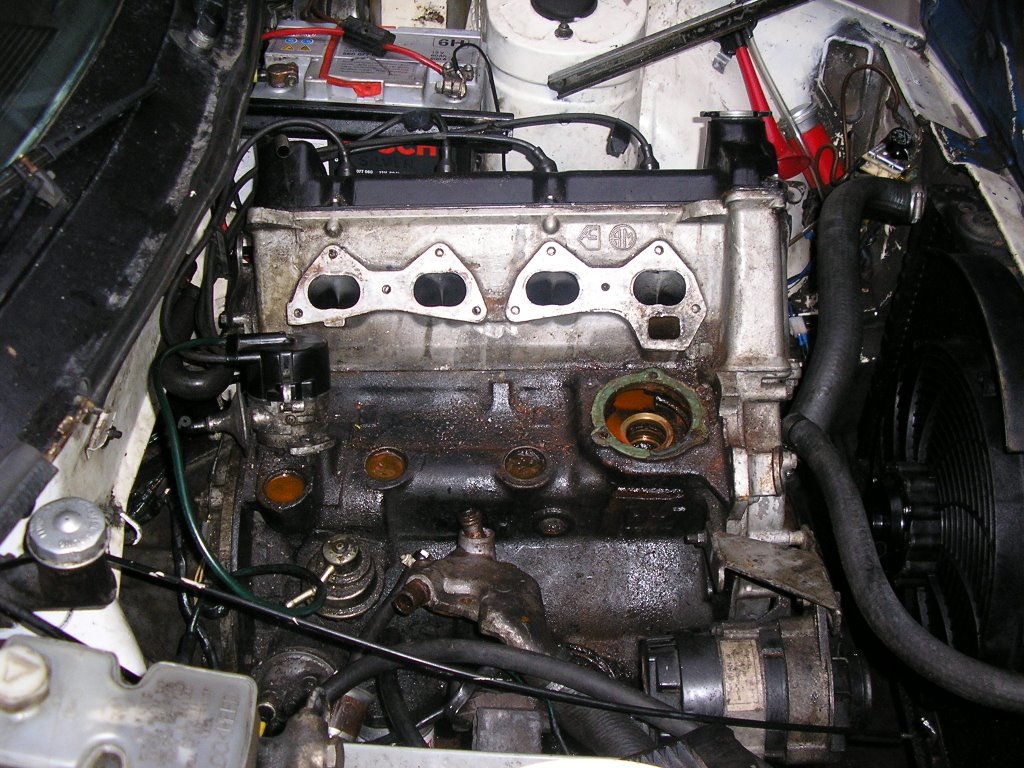
Well, this exhaust manifold needed to come out because it wouldn't mate up to the Sprint engine anyway so fair enough.
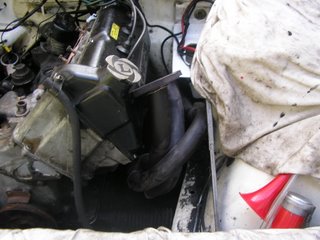
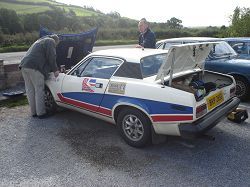
Immediately tho, there wasn't enough clearance -see the photo where it is jammed.
So, to gain clearance I removed the starter motor, which had been fitted yesterday to the engine whilst it was out so as to make things easier!
Still no progress so I had to unbolt the engine mountings and lift the engine again - joy of joys!
That sorted it and the Sprint manifold I had bought went in no problem - that was £20 well spent anyway when I bought the engine.
Now all OK to bolt up the engine, re-connect the propshaft and put in the gearlever - all quicker to type than do!
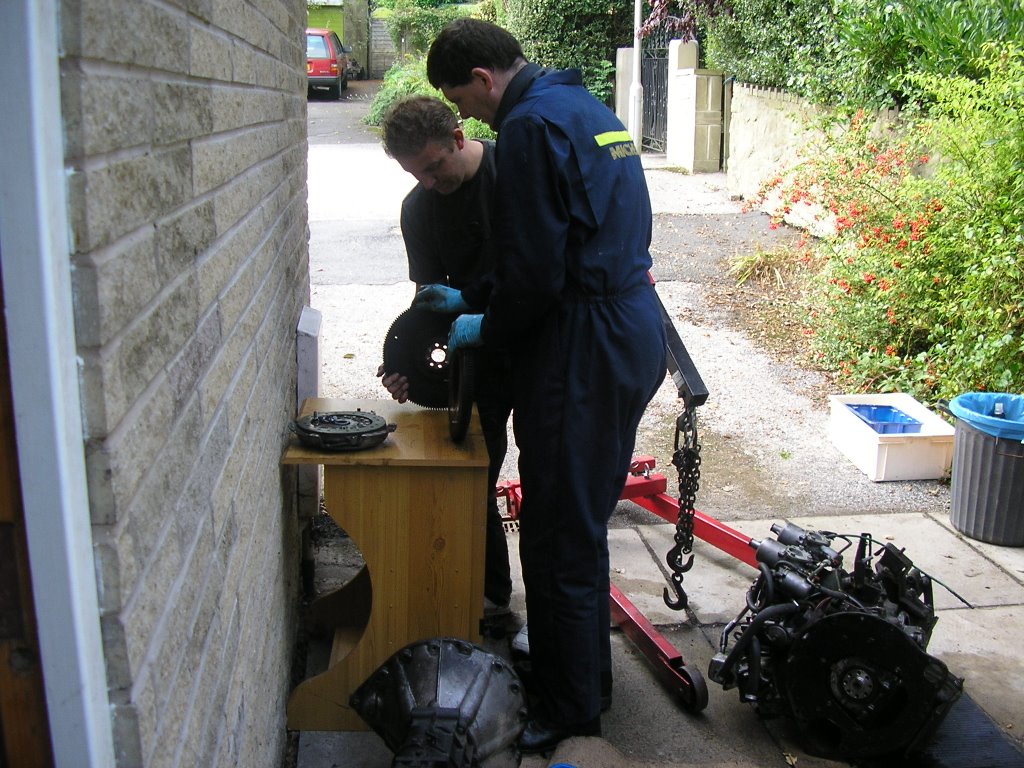
It was about now that Paul Darbyshire arrived to lend a hand. Paul is a real mate I met through the club, veteran of 2 10CRs and an all round top bloke.
Next problem we found was that the manifold downpipe was far too long to mate up to the exhaust centre section. There was no way we could make it fit. An alternative was to take off the exhaust manifold again (!) but that hadn't been particularly easy to bolt up so we wanted to avoid that if at all possible.
Solution? Cut back the down pipe to give us clearance. Even then it took alot of "drifting" in Paul speak ( bashing with a lump hammer or two in mine) to get the exhaust to mate up. I tell you what, there is no way there will be any leaks from that joint!
Back to the engine bay and its' refitting the starter motor. Rumpith popped round at this point as he had had rather a late night and was feeling a bit off (code for hang over!). Between us we got the starter back on after yet more struggle.


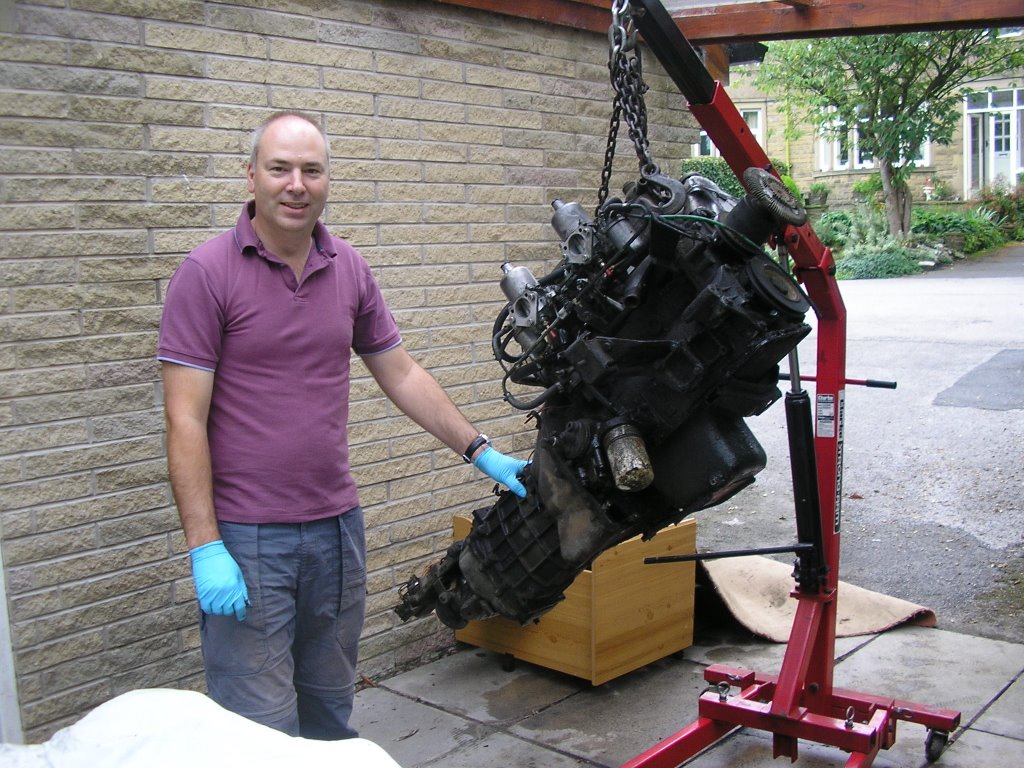
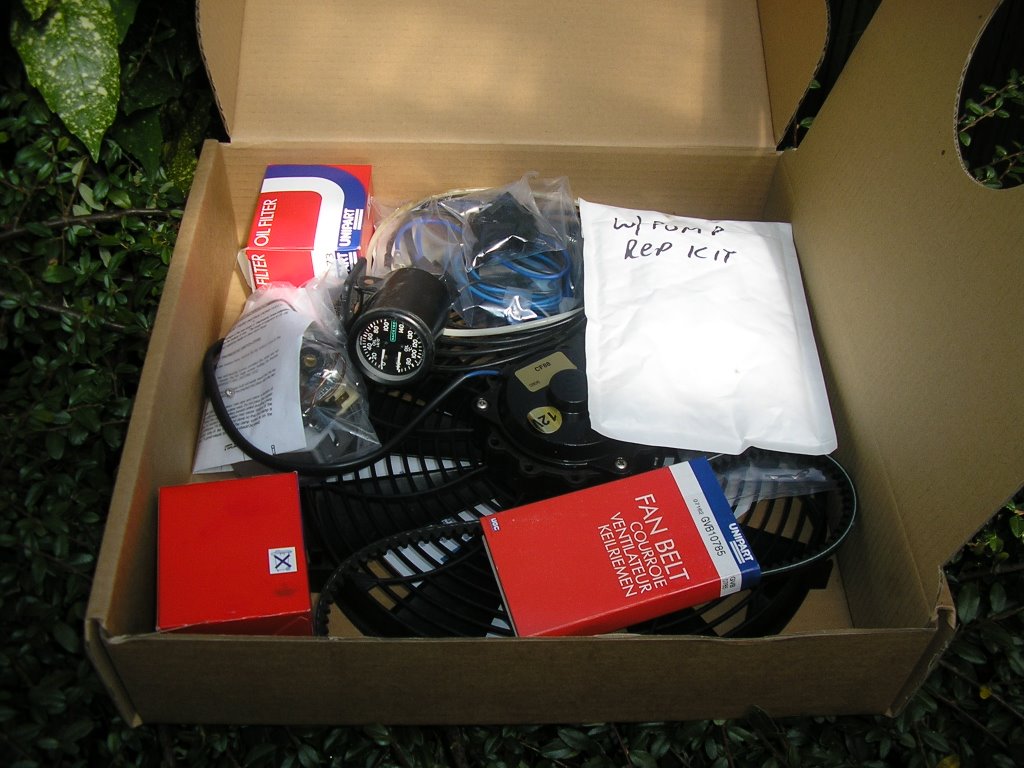
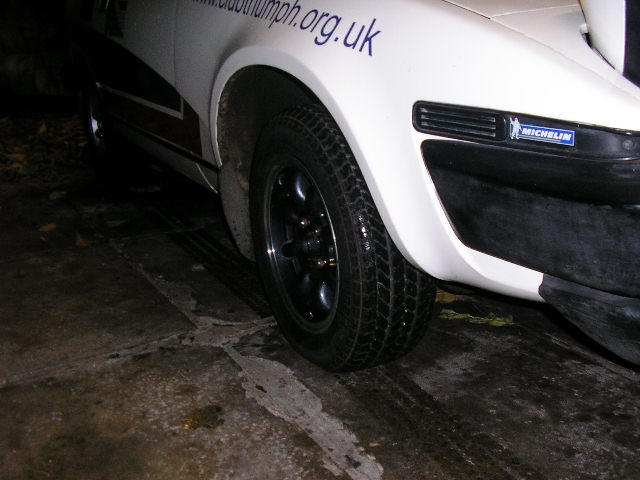
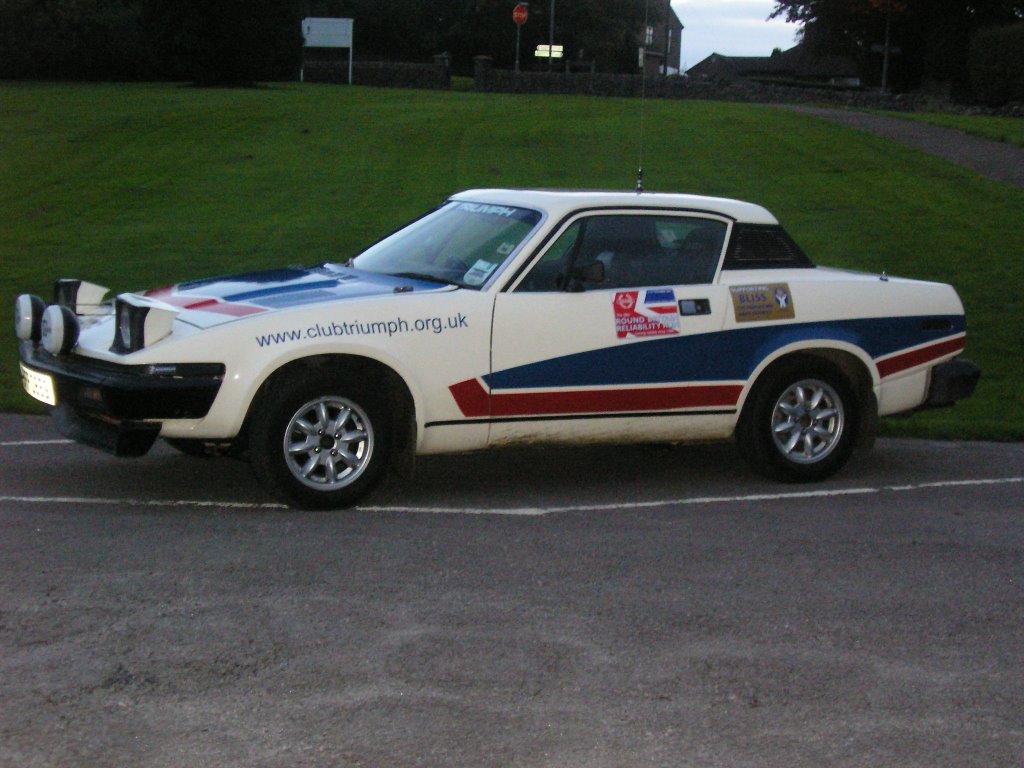
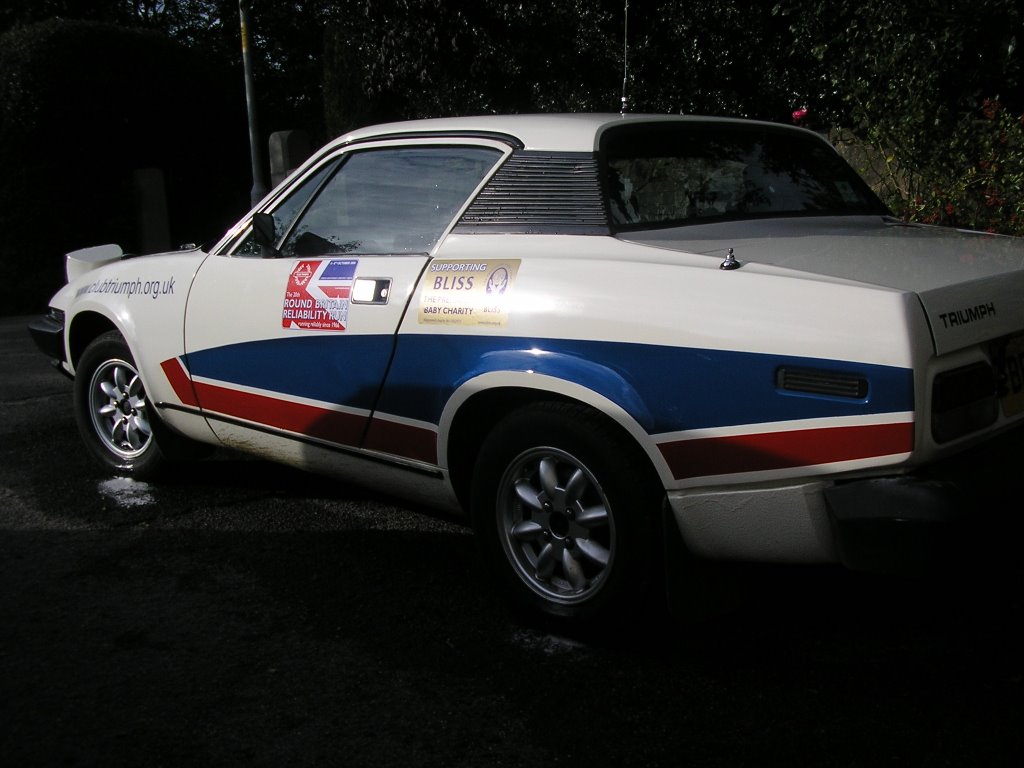
 Here's my Xmas presents fitted a little early!


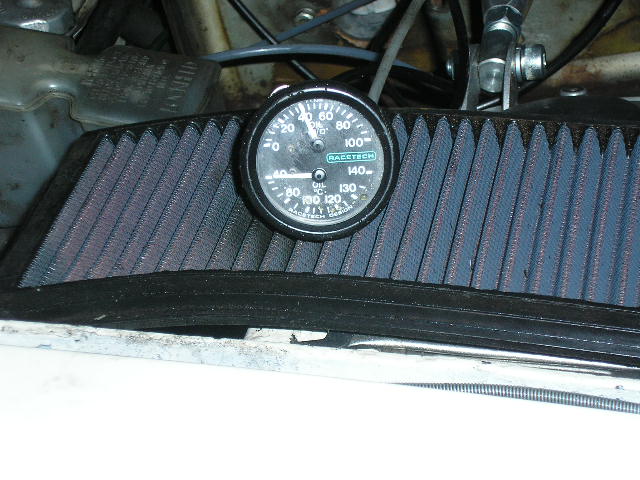


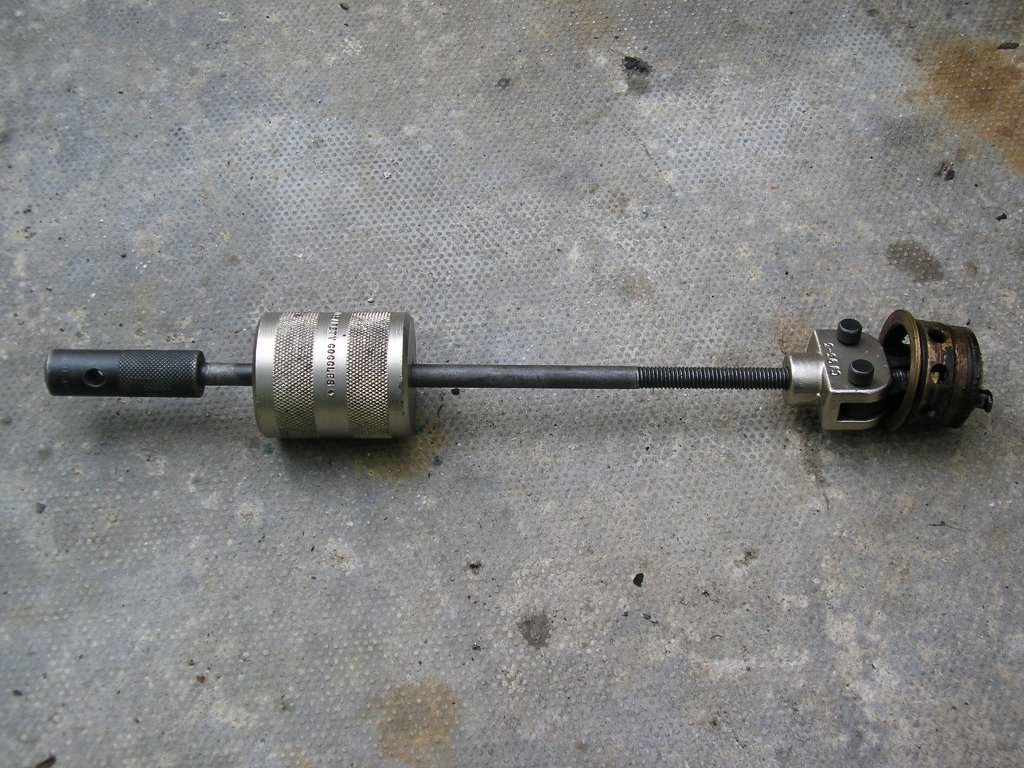
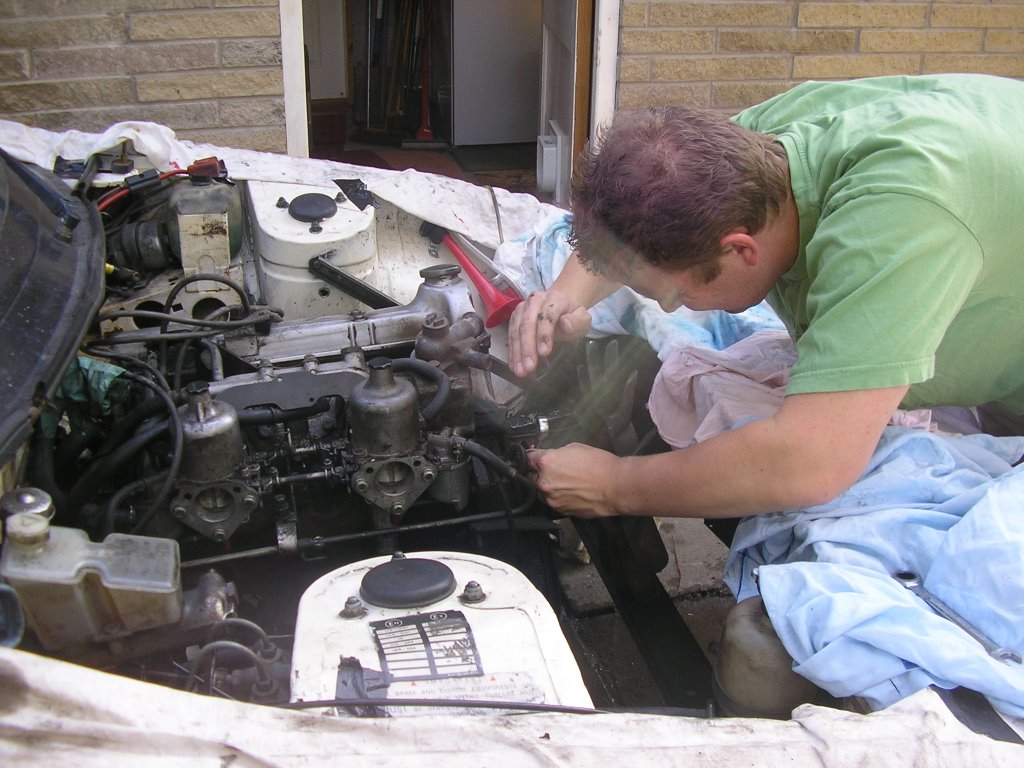
 Finger over the end stopped it until I could pull over and take the tee piece off so I could just fit the oil pressure switch
  Still, the gauge showed 40PSI cold until then