It's almost as if I have to skirt round it and surprise myself that I am working on the car again.
So, today I spent some time tidying the garage, putting two wheels up into storage. Talking of wheels - I'll be buying the Minilites which do the job I wanted them for. Photos don't do them justice really.
Next up was tidying away some of the debris in the boot from the RBRR spannering.
Then, and only then, I looked at fixing the oil pressure gauge and getting a feel for the health of this Sprint engine. I had fitted an oil pressure gauge before but the oil pipe came off the back and I had to stop oil filling the driver's footwell by putting my finger over the end! There was no time to fix rhis before the RBRR so I left it disconnected and relied on the oil pressure light.
On the RBRR of course I also had the oil sender unit fail which resulted in a massive oil leak which I fixed with a replacement brought to the Asburton halt by Tony Francis - thanks Tony.
In with the sender unit was another oil pipe and fixings so today I thought I would plumb it all back in.
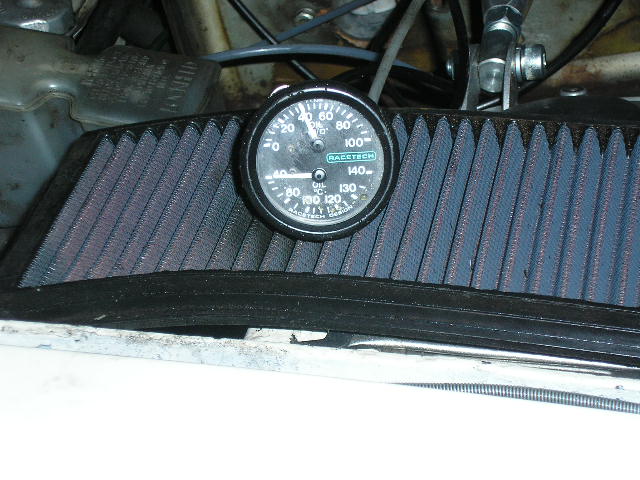
Unlike the mad activity to get BRP ready for the RBRR I now have some time so I spent at least half an hour assembling the best combination of tee pieces and unions when I connected the oil pressure gauge. This time I also tried it in loose in the engine bay where it wouldn't be so bad if leaks developed.
Here's the result - 40PSI at tickover is certainly OK.
Having proven that there were no leaks it was time to fit it in the cockpit. Again, I fitted and removed it several times before I was happy and also took the time to locate all the pipework correctly - even with spirap for goodness sake.
I would have taken another photo but the camera batteries ran out! The gauge is now just to the right of the steering wheel but this is a temporary position I think - if it's OK in practice I'll wire up the oil temp gauge element too as well as some illumination.
Next up will be moving the coil up out of the way of any water that could be thrown up - a lesson learned on the RBRR.
2 comments:
I pleased that oil gauge fitting kit has been put to good use Martin. I never got round to fitting it on my car but it's probably going to serve a better purpose for you!
Thanks Tony - I look forward to meeting up with you again some time.
Post a Comment